Did you know that having your basement flood right before
Thanksgiving causes one to go berserk?
I went berserk.
I literally just finished an order, and the next morning, we’ve
got water in our finished basement like we’re trying to fill up a new indoor swimming
pool. That we didn’t want.
Luckily, the hubs and I were home at the time and discovered
it rather quickly. So I’m grateful for that. Because it could’ve been much
worse had we been at work and found it when we got home. We got a plumber and the insurance guys to come and work everything out, from getting assessed to having our damaged floors ripped out. It all eventually was taken care of.
But it definitely put a damper on my holiday baking.
Well, that and just being a new homeowner period. In addition to our "basement remodel", our house
had to be readied for the upcoming holidays…including our first time hosting
Christmas. With my parents coming to visit and staying with us.
And in that time between having random men coming in and out of my home (for various flooring visits), I was finally invited to Pinterest.
Which for those of you who don’t know already…it’s a time sucker, just like your
favorite social networking sites. Only more interesting.
It is quite addicting – finding things that you like, or new
things that you never knew you can’t live without, or ideas that you hope to
execute someday…and all these things that you want to remember you can pin to
virtual boards for you to refer back to at your convenience. Any interest you
have, you’re covered. There are recipes, educational tips, vintage cars,
fitness routines, hot vacation spots…I mean, I could keep going.
My time had been spent scouring the DIY and holiday boards
so I could decorate our humble abode. So wreaths and bows took the place of
cookies and cupcakes. It was fun until I realized I hadn’t really baked
anything. And then it was the holidays and everyone was at our house, so I
couldn’t dwell on it anymore. It’s a new year, and I’ve got new things baking
up. After I finish a couple more Pinterest-inspired projects. ;)
And to thank you for listening to my Pinterest babble, let
me catch you up on goodies since October. These were the happenings from my
kitchen:
Engagement party & Tailgate (with a chili cook-off)
Sugar cookies decorated with butter cream frosting.
Thirteenth Birthday


Engagement party & Tailgate (with a chili cook-off)
Sugar cookies decorated with butter cream frosting.
 |
| Many guests were Michigan State alum and/or fans. |
 |
| The happy couple sharing some sugar. |
Thirteenth Birthday

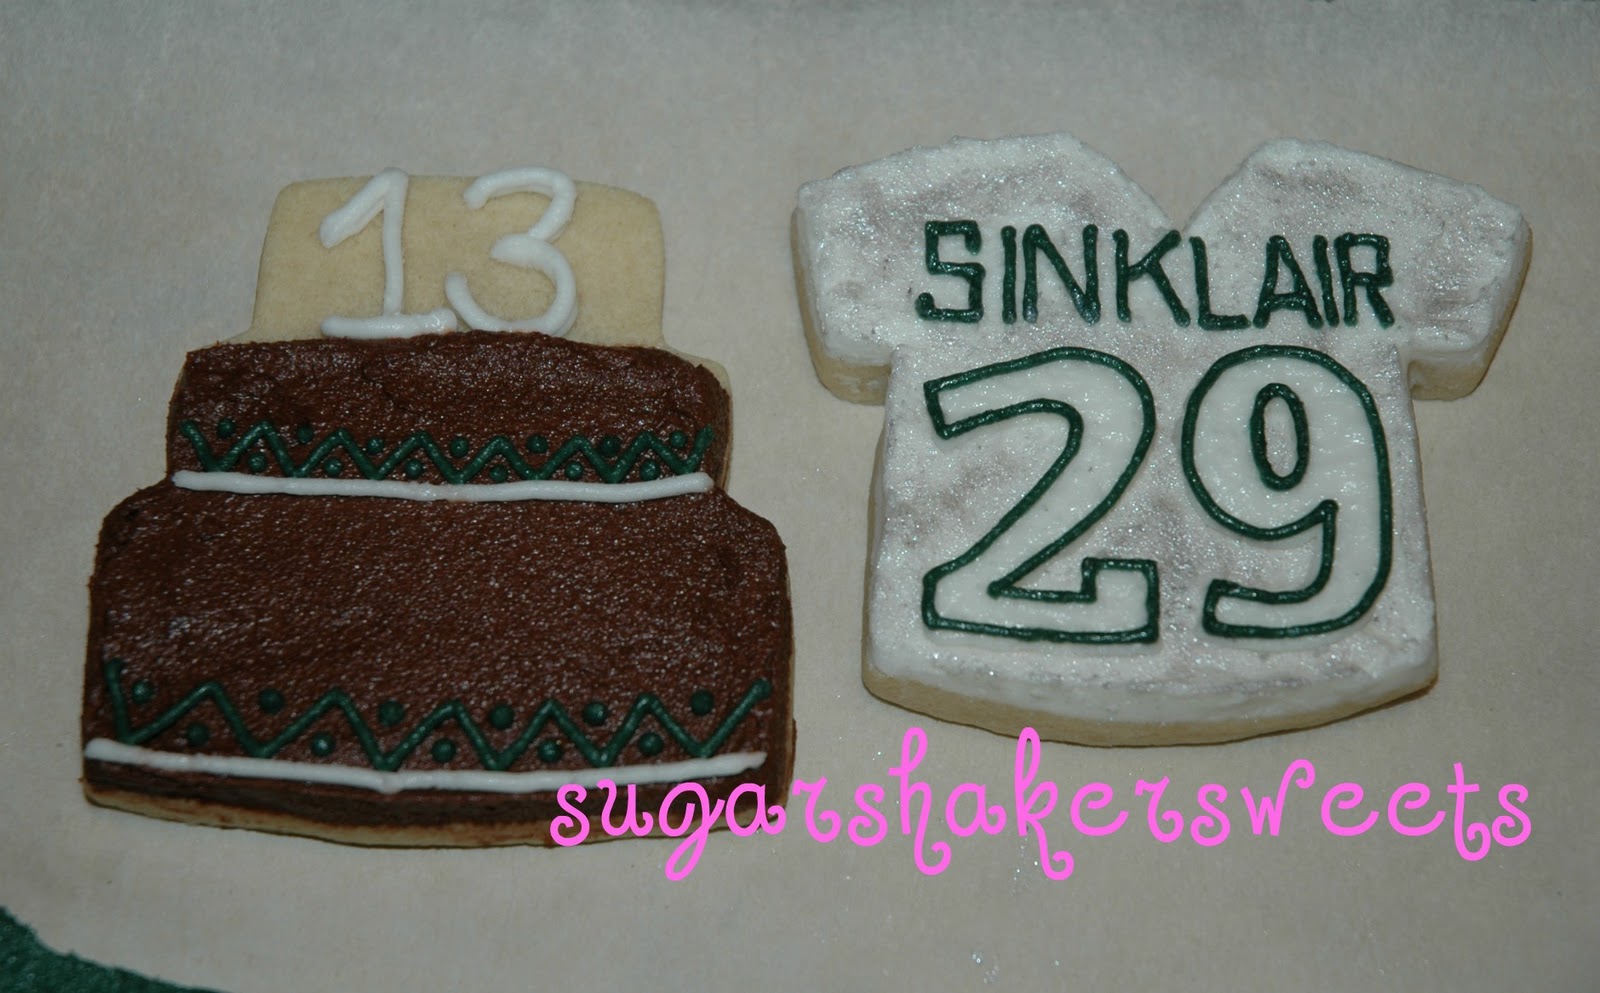
Sugar cookies decorated with butter cream frosting. I studied his football jersey to make sure I got it right!
 |
| Chocolate cake, filled with Oreo butter cream, covered with dark chocolate butter cream. |
 |
| Sent from my sister: The cake decorated with the sugar cookies. |
Thanksgiving Family Get-Together
Pump'kin Patch cupcakes (pumpkin cake with cream cheese frosting)
Just Like Heaven cupcakes (chocolate cake, nutella ganache, caramel frosting, toffee bits garnish)


Christmas Family Get-Together
Red velvet and chocolate cake pops

How to decorate these cake pops:
I go back and forth with using decorating bags and tips when I'm decorating with candy melts. I feel like I spend more time going back and forth between the table and the microwave because the melts harden more quickly in the tip, even if the rest is still warm/usable. I often just use toothpicks instead.
Santa's belt:
Pump'kin Patch cupcakes (pumpkin cake with cream cheese frosting)
Just Like Heaven cupcakes (chocolate cake, nutella ganache, caramel frosting, toffee bits garnish)


The branches and paper flowers posing with the cupcakes was my first Pinterest project. ;)
Christmas Family Get-Together
Red velvet and chocolate cake pops

 | |
| Santa's belt, snowflakes, and holly & berry wreaths for a festive holiday celebration. |
How to decorate these cake pops:
I go back and forth with using decorating bags and tips when I'm decorating with candy melts. I feel like I spend more time going back and forth between the table and the microwave because the melts harden more quickly in the tip, even if the rest is still warm/usable. I often just use toothpicks instead.
Santa's belt:
- Use black candy melts, black sanding sugar, and silver sanding sugar
- Dip a toothpick in your smooth black candy melt and "paint" on a line in the middle of the cake pop, about 1 cm thick. Coat with black sanding sugar. Note 1: I usually would do half of the belt and then sugar, then finish the other half of the belt and sugar. This is to prevent the candy melt from hardening before you sugar it. Note 2: It's best to have parchment paper beneath your workspace, making it easier to save your sugar and pour it back into its container. I also do one color at a time to avoid mixing colors.
- Repeat for remaining cake pops.
- Dip your toothpick in the candy melt again. Paint on a small rectangle for the belt buckle. I made the rectangles thin to prevent them from turning out more square, since it turns out 'thicker' once you add the sugar.
- Coat with silver sanding sugar. (Some people like yellow or gold for the buckle, but I like silver...so your choice!).
- Use white candy melts, white sanding sugar, and white snowflake sprinkles. Note: I used two different types of sprinkles to differentiate cake flavors; i.e. sanding sugar = red velvet, snowflakes = chocolate
- For sanding sugar snowflake.
- Dip a toothpick in your smooth white candy melts.
- Draw two lines like a + sign.
- Add small slanted lines like \/ at the end of each line (it should look like kind of like an arrow's end).
- Coat with white sanding sugar.
- Add four more smaller lines in between the open spaces in your + and small slanted lines at the ends of these lines.
- Coat with white sanding sugar.
- For snowflake sprinkles.
- Lay out your sprinkles in the design that you want.
- I made one long line of 5 snowflake sprinkles, then branched out four short lines of 2 sprinkles each (the cake pop gets crowded real quick!) Think of an asterisk shape *
- Dip a toothpick in your smooth white candy melts.
- Dot in the center and place your first snowflake. Note: I used dots versus lines so you can see the snowflakes clearly.
- Repeat with remaining snowflakes.
- Use green candy melts and holly berry sprinkle mix (in a small shallow bowl).
- Instead of a toothpick, use a small tool to create your circle for the wreath. I used the screw cap from one of my small plastic decorating bottles.
- Dip the cap (or whatever circular tool you chose) in your smooth green candy melts.
- Carefully place cap on your cake pop. Be sure that your circle is complete. Repeat dip if necessary.
- Dip cake pop in holly & berry mix, or sprinkle them over your circle. Note: Dipping the cake pop can spread the candy melt out a little bit, making your wreath a little wider. I used both methods to see what worked best -- dipping is obviously not as messy, but sprinkling creates a more defined wreath (If you look at my second picture with all of the pops together, see the front two wreaths? The one on the left was dipped, and the one of the right was sprinkled).
I hope you've enjoyed my 'recent' happenings. Now I'm off to Pinterest to find some more inspiration :D


